Want to learn how to some quick ways to retouch in Lightroom? Watch this tutorial from Community Manager Chad Winstead on three of his favorite ways to retouch skin using our Visual Flow Retouching Toolkit in Lightroom without ever happening to open up any other software or application!
1. Use Spot Removal Tool to Heal Skin Imperfections
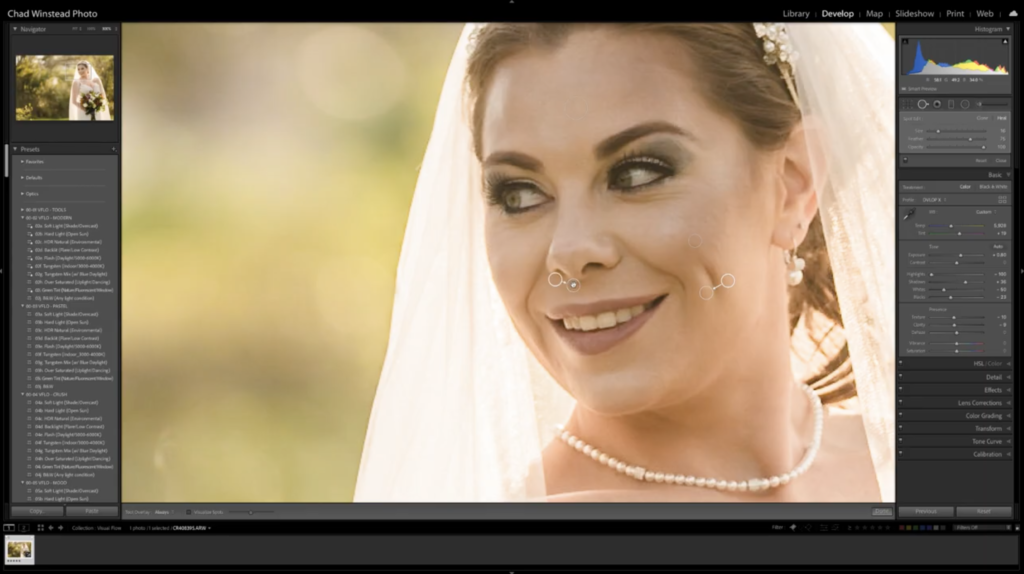
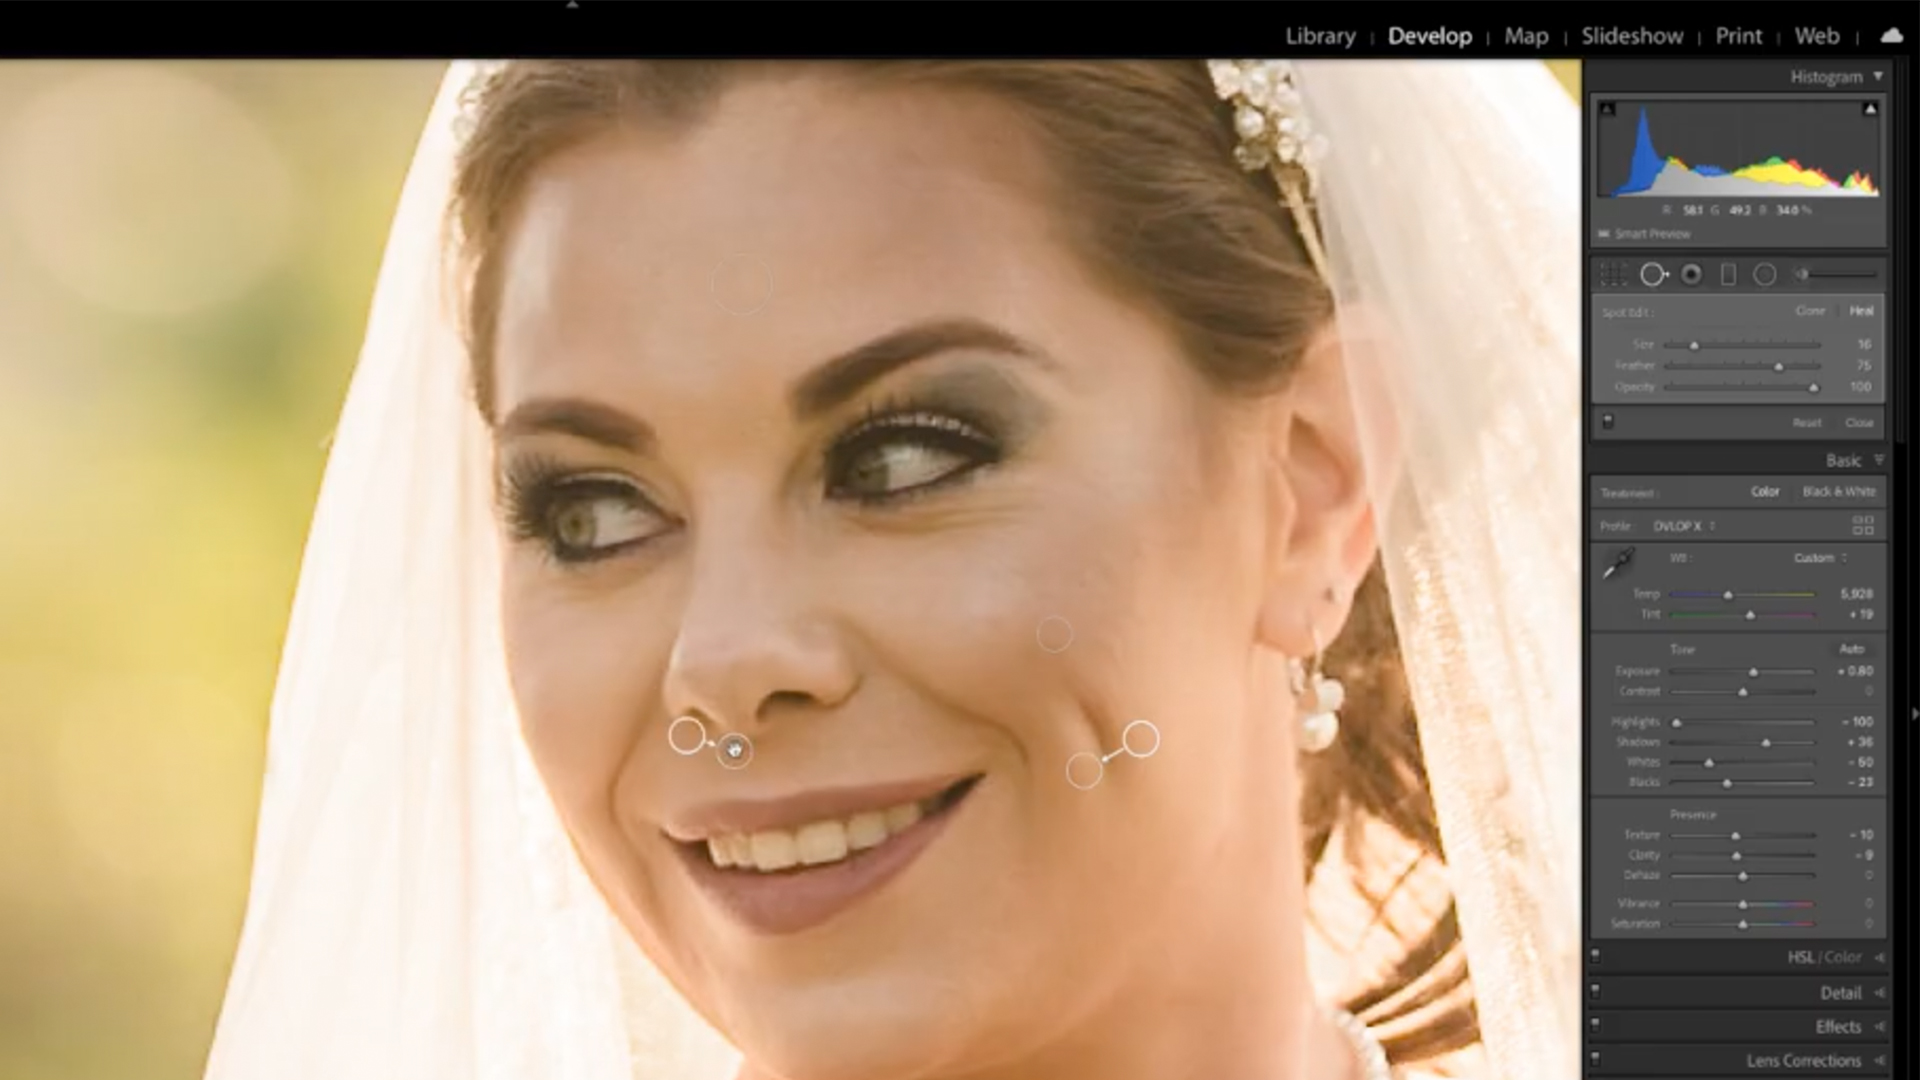
After you’ve selected your favorite preset and made tonal adjustments, zoom your subject’s face and press ‘q’ on the keyboard to open up your spot removal panel. Make sure to select a brush size slightly larger than any bump or imperfection that you’re trying to heal.

Select the ‘Heal’ brush and set the Feather to 75 and the Opacity to 100. Generally, this works well in editing the specific portion of the image, but sometimes the auto-select function will select the wrong section of the image so what you’ll have to do is simply drag and manually adjust to make it look more natural. Always make sure to zoom out and check to see if the image looks okay in its original view.
2. Use the Visual Flow Smooth Skin Brush

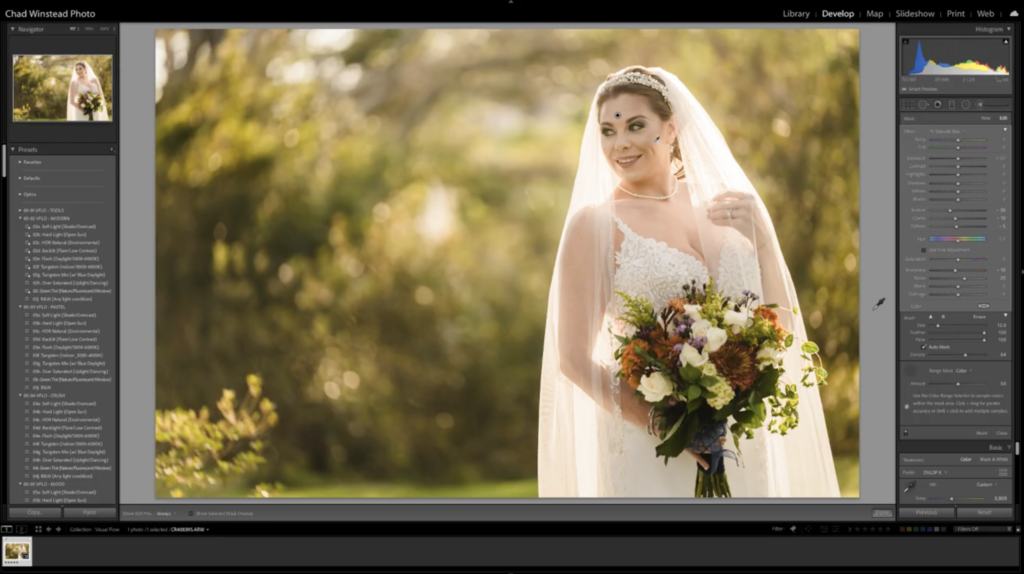
In our Retouching Toolkit we’ve built in a ‘Smooth Skin’ brush that allows users to use a local adjustment brush in Lightroom to do a quick skin retouch without overly taking away texture. Brush loosely over our subject’s skin as to not exaggerate the effect. Next, select Range Mask -> Color and then drag the dropper over your subject’s skin. What this will do is concentrate the brush effect to only areas shown in red and keep it off of objects near the skin (jewelry, clothing, etc.). You’ll notice in this particular example, the brush went over her eyes and teeth just a little bit. Simply select the Erase button and remove the effect from areas where we want to maintain sharpness.
3. Sharpen Specific Areas on Skin & Face

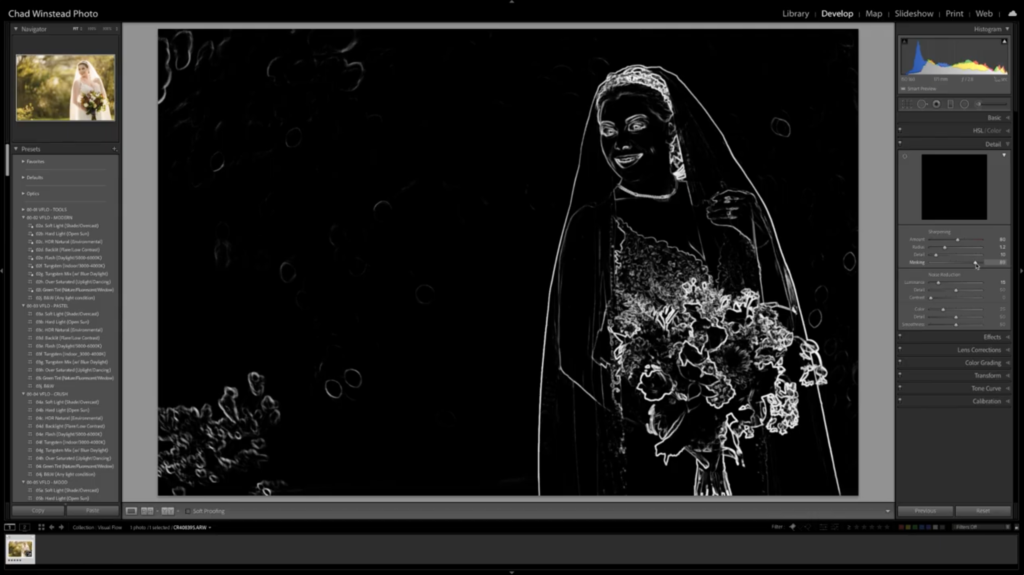
Visual Flow Presets automatically apply overall sharpening to the image but what if you wanted to pay attention to specific portions of the image? Hold down the Option key and grab the Masking slider now. Make sure that there’s no white portion on your subject’s skin. Areas of the image that show up in white are where sharpening is being applied and the dark areas are showing where it isn’t applied, so we want to make sure that the skin is a dark portion of the area because we don’t want to undo anything that we just did as far as skin smoothing and adding artifacts. There you have it – three tips for retouching skin in Lightroom!
Join us over in our Visual Flow Facebook Group for more tips and tricks on how to incorporate Visual Flow into your editing workflow seamlessly. For more in-depth Lightroom education make sure you watch our Visual Flow tips & tutorials videos over on our YouTube channel and check out SLR Lounge Premium education for full editing courses.

